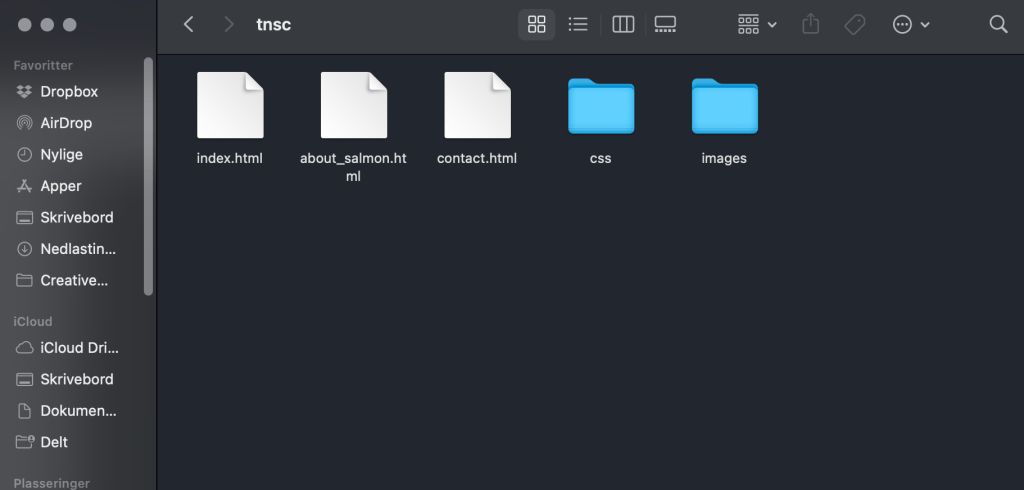
1.1:
Screenshot of the folder:
1.2:
Part 1 –
My added tags.
Part 2 –
Tags with meaning:
1.3:
1.4:

1.1:
Screenshot of the folder:
1.2:
Part 1 –
My added tags.
Part 2 –
Tags with meaning:
1.3:
1.4:
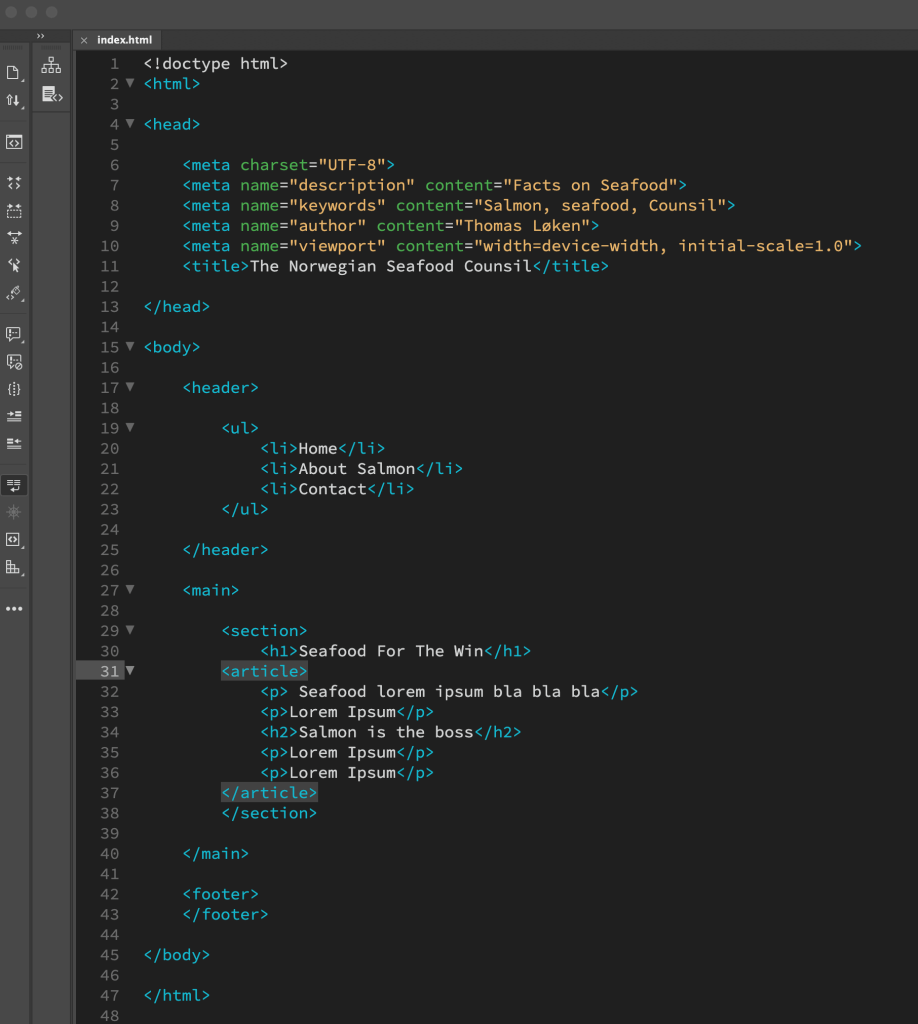
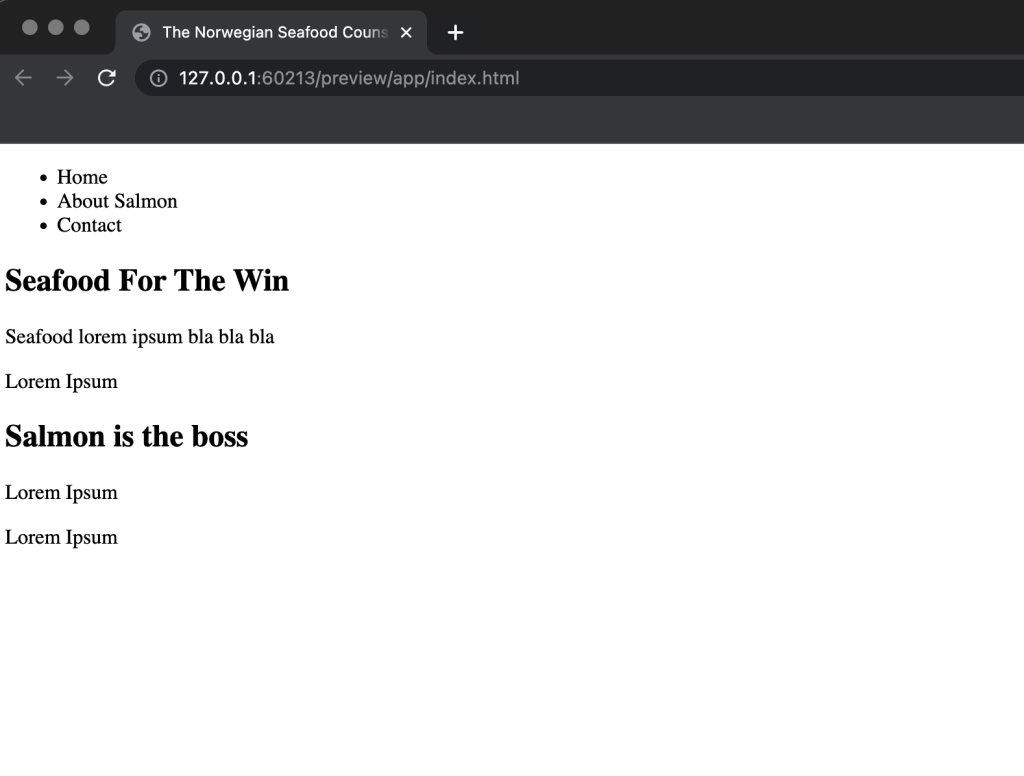
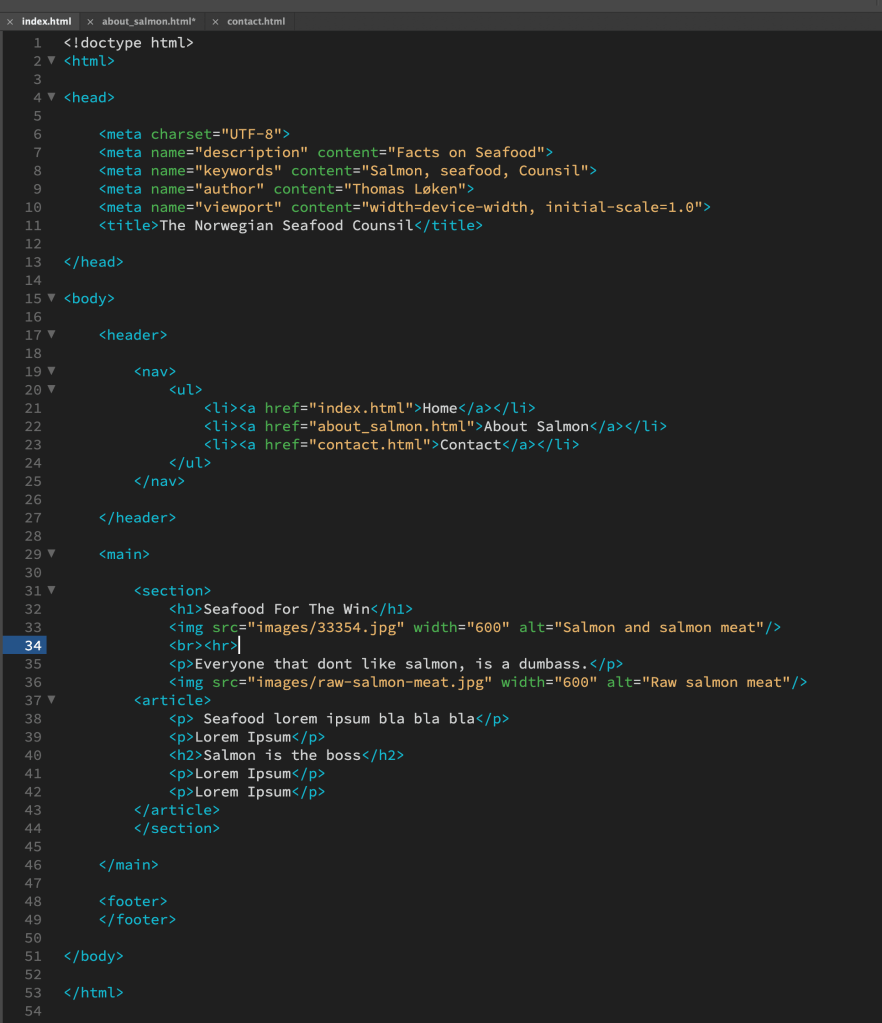
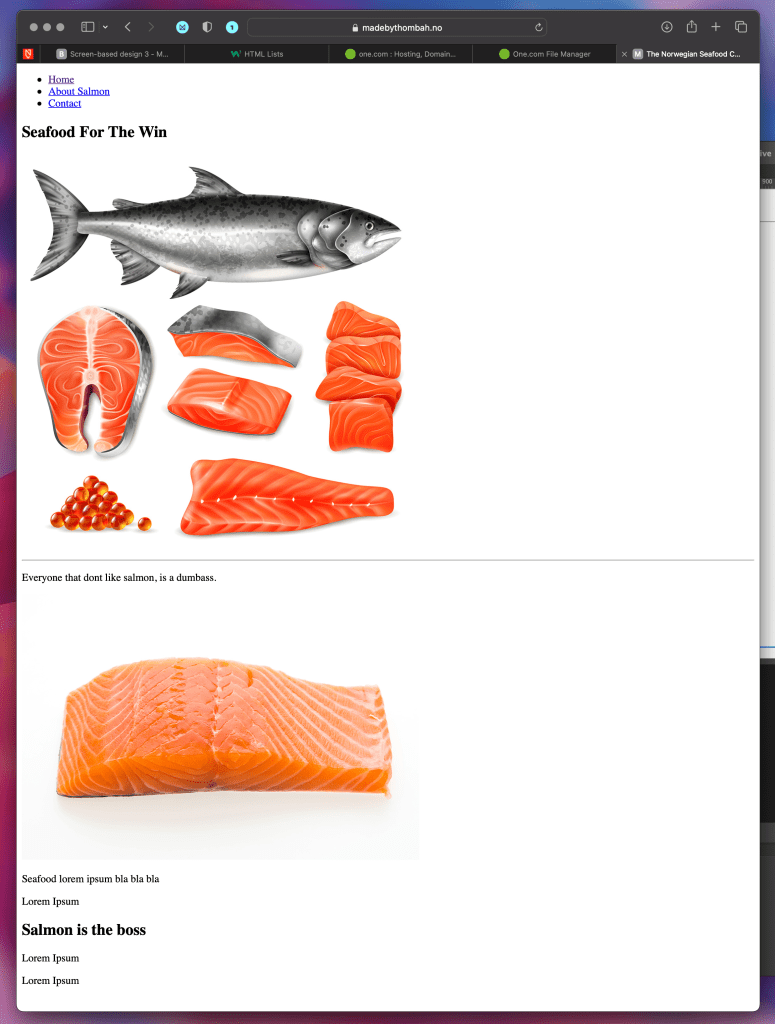
Take the basic website you have designed in your previous two Lesson Tasks in this module (Lesson Task – Put Thought Into Your Design and Lesson Task – Planning the Structure) and convert that into HTML and CSS code.
Coming soon…
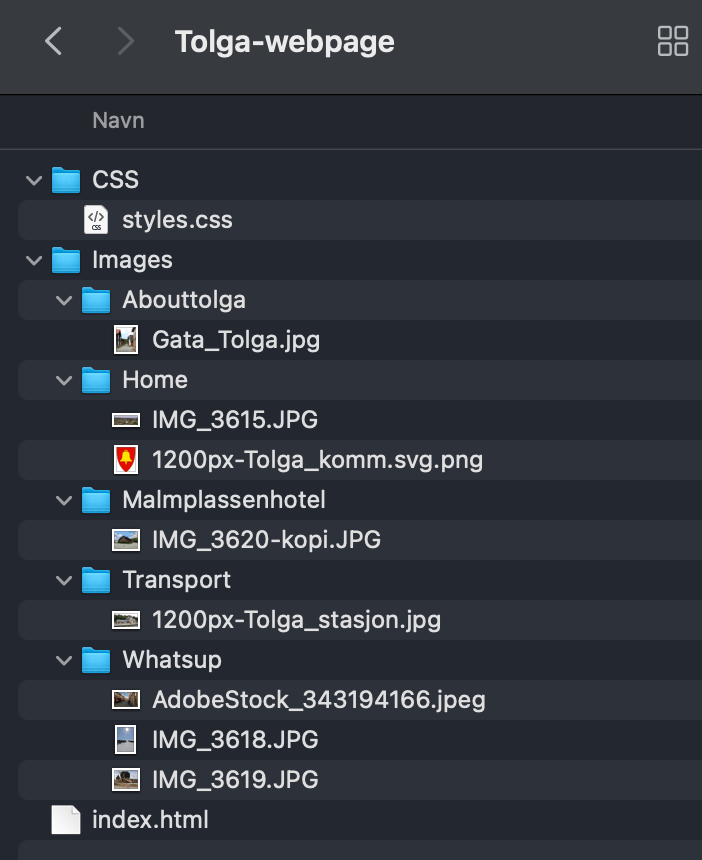
Create the structure of your web page (from Lesson Task – Put Thought Into Your Design) in terms of HTML files and folders. You need to set these up so that you are ready to code your website.
First use a pen and paper to do your planning; then do it on the computer when you are sure of your structure.
Sketch:

Folder on the Mac:
Written Assignment
Research Assignment
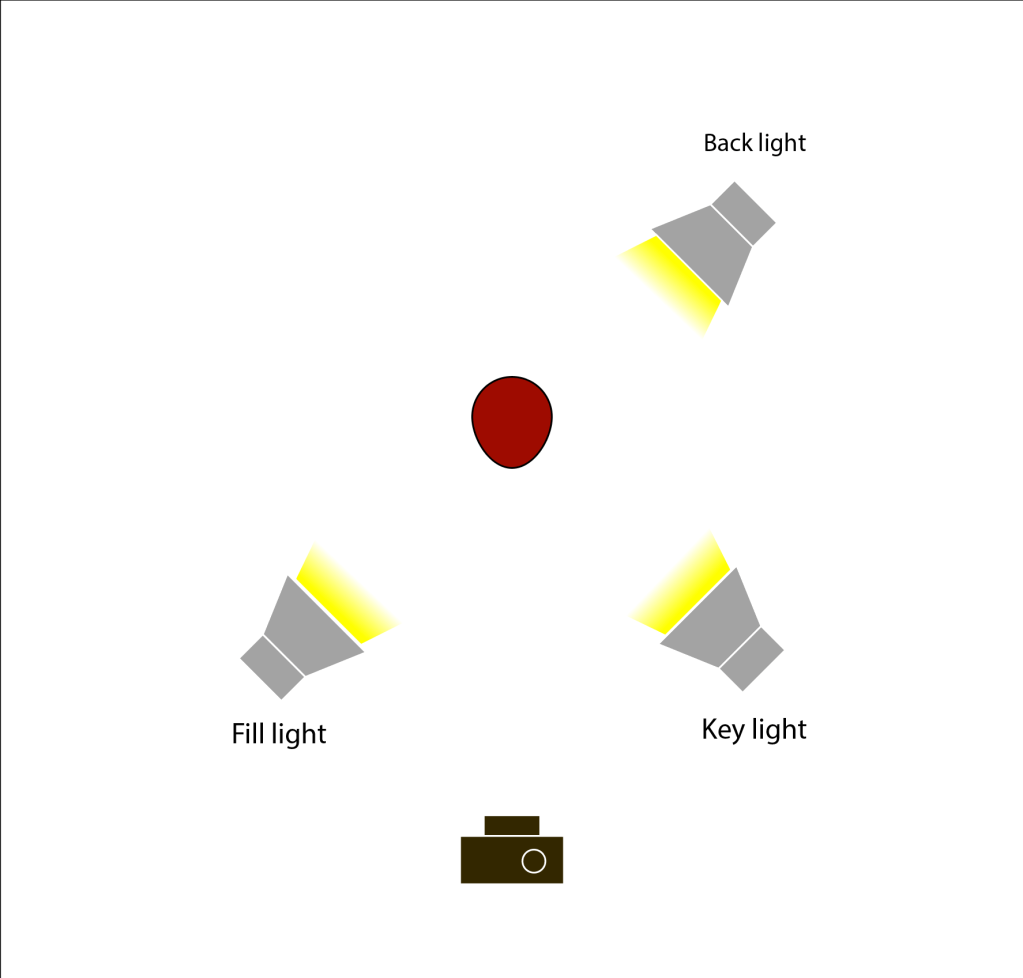
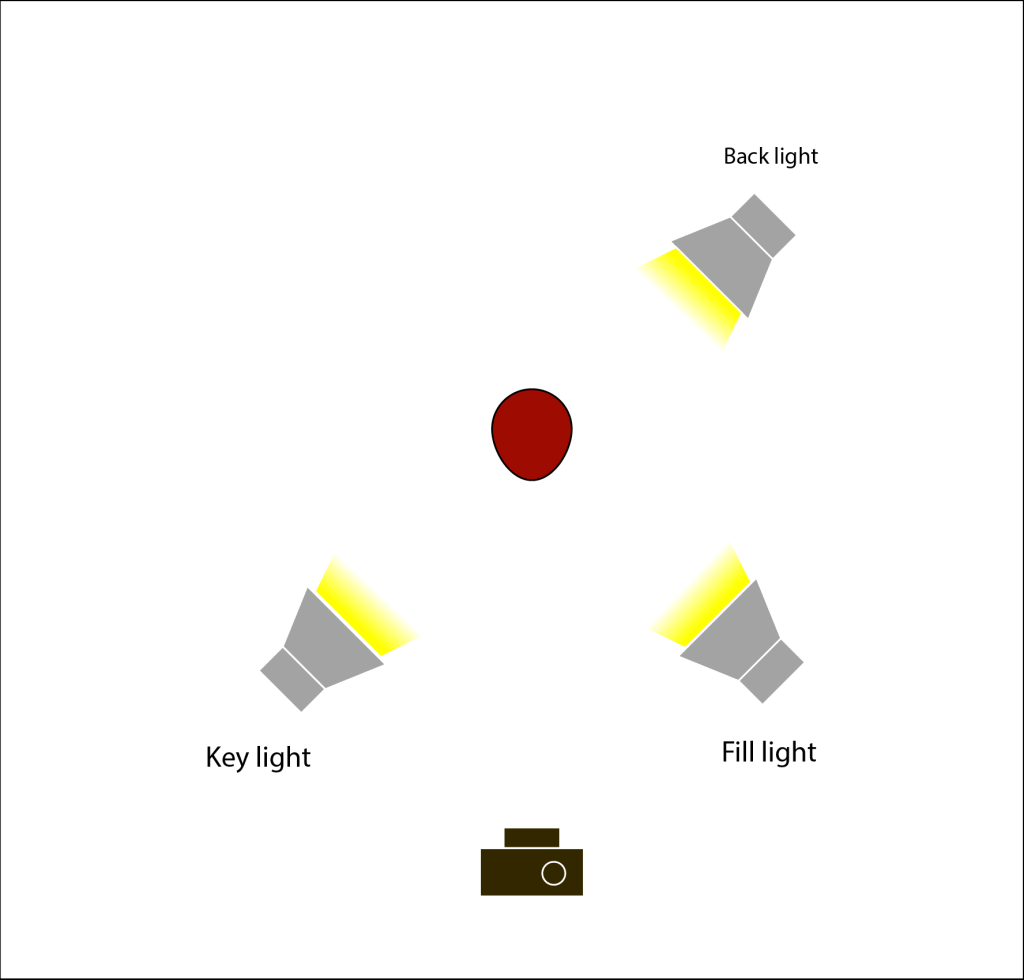
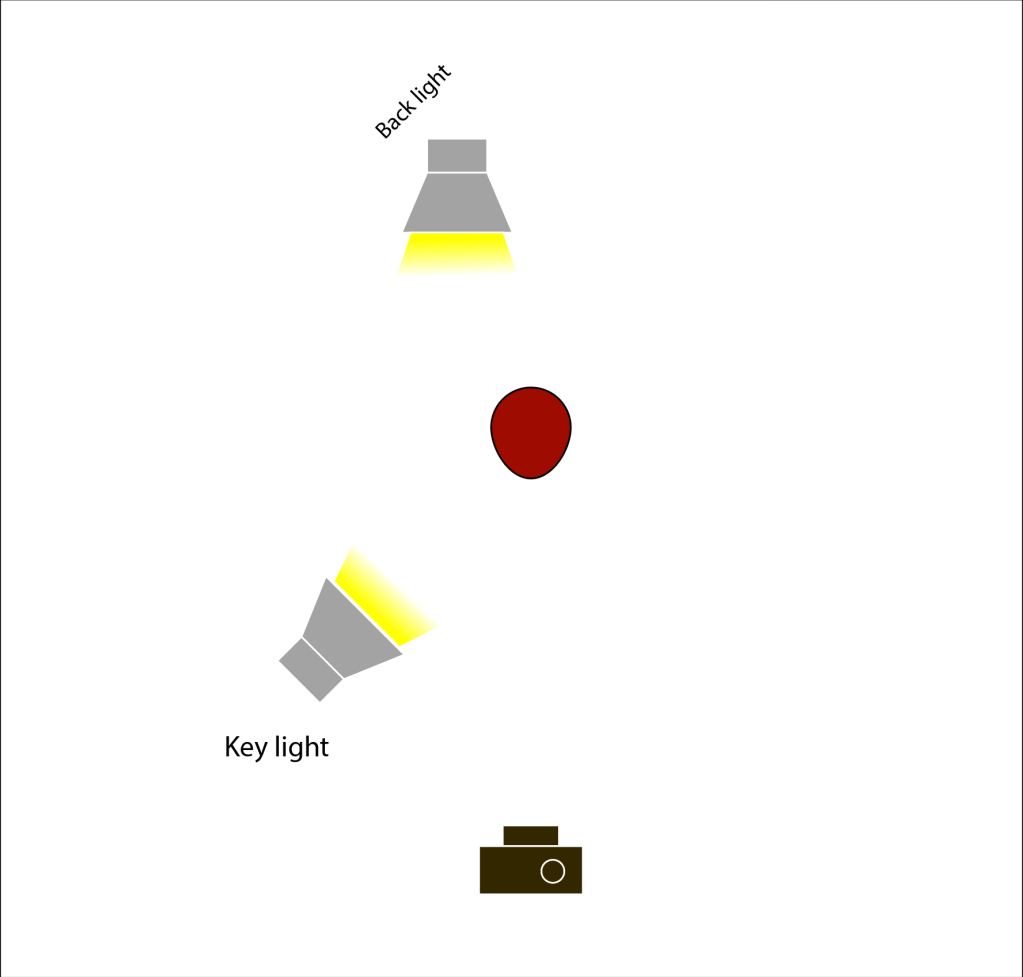
Draw three studio setups for the following subject matters and list all the equipment that you would use to light your subjects:
Portrait:
Fashion:
Beauty:

Fahion shot:

Beauty shot:

Portrait shot:
Practical Assignments
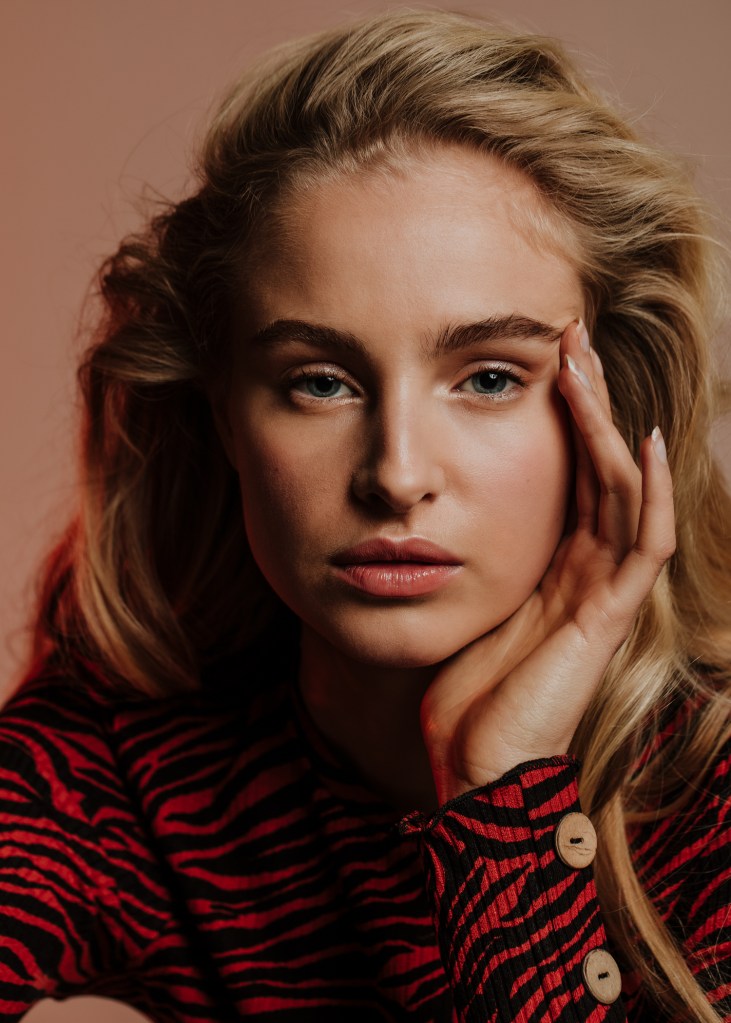
Take some portrait shots and pay specific attention to the lighting you use. Do one shot with soft lighting and one with more dramatic, harder lighting. It would be beneficial to hire studio lighting, but if you can’t, you may use natural light, reflectors and your camera’s flash.
Practical Assignments
Choose a portrait photograph from the ones you took in Question 3. Create a unique movie poster for a fictional fantasy movie of your choice. Make use of different backgrounds and editing techniques you have learned.
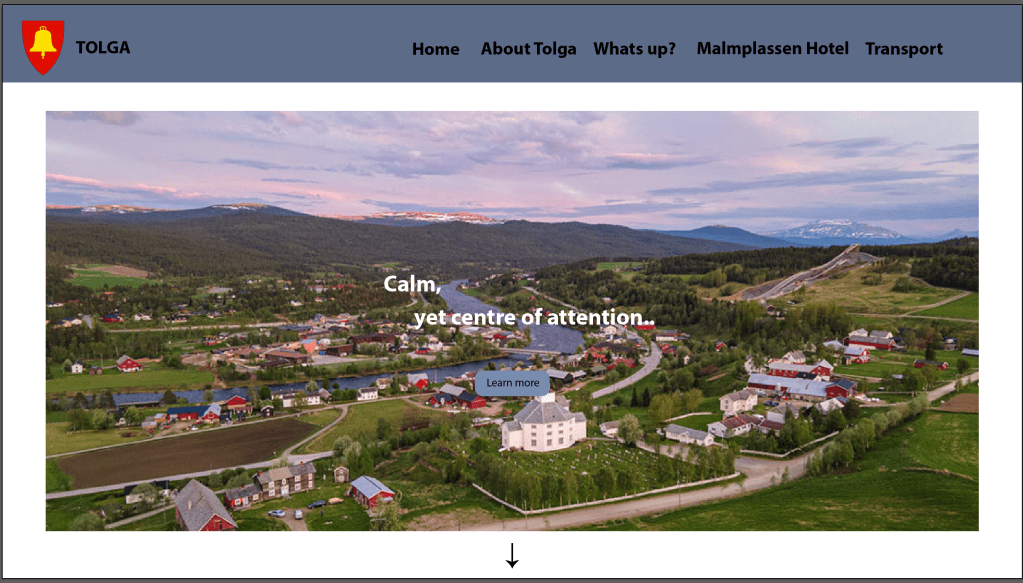
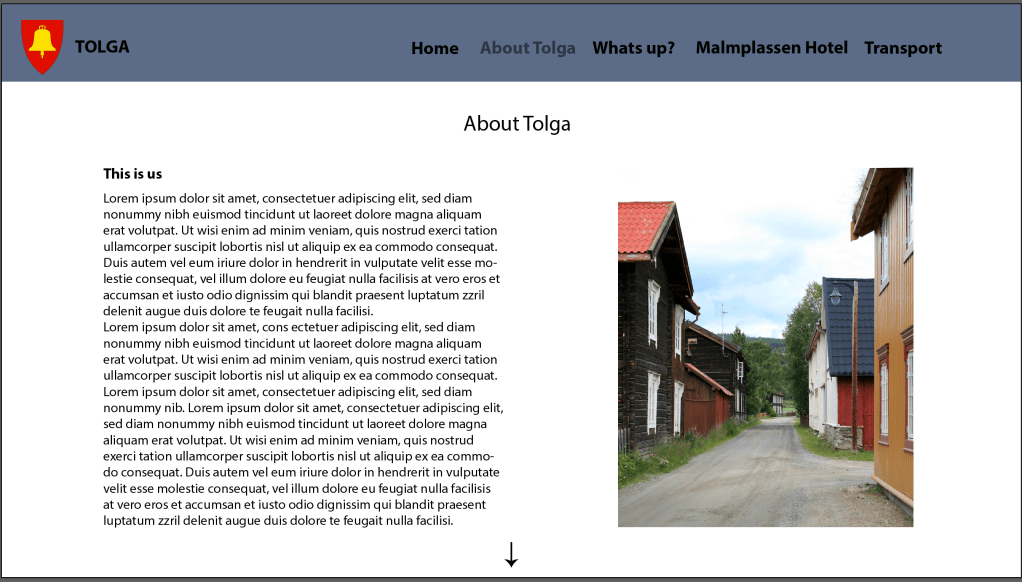
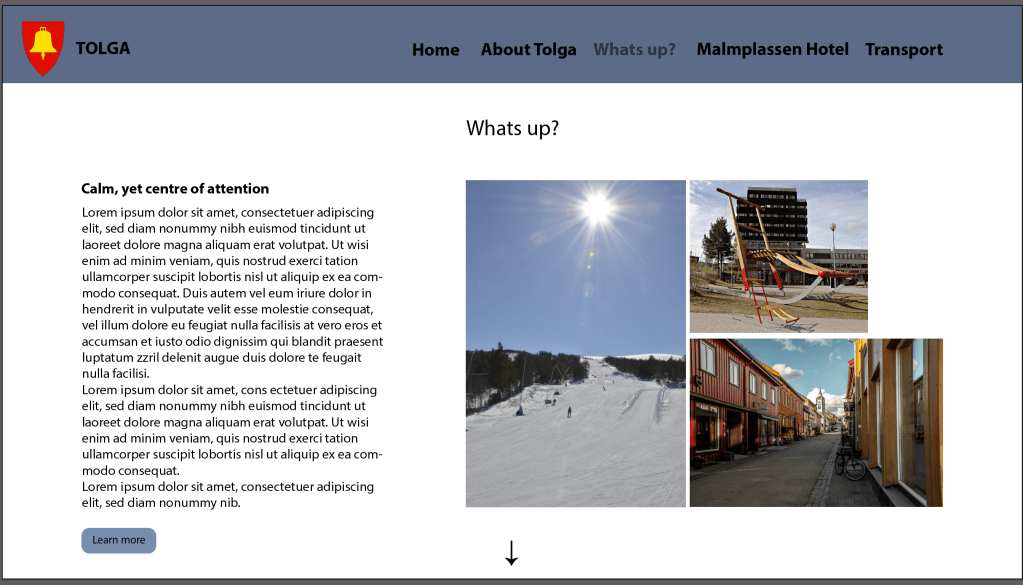
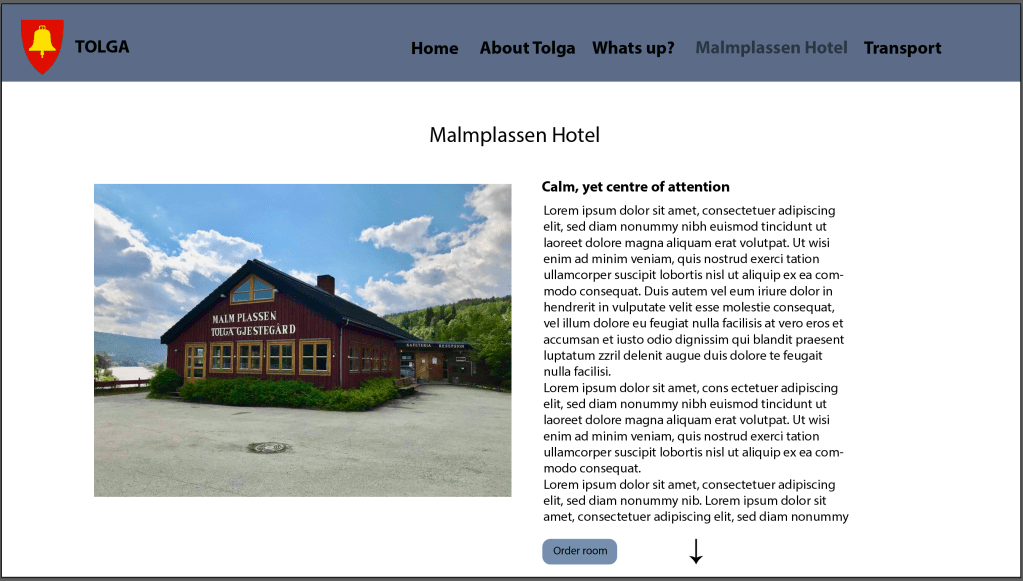
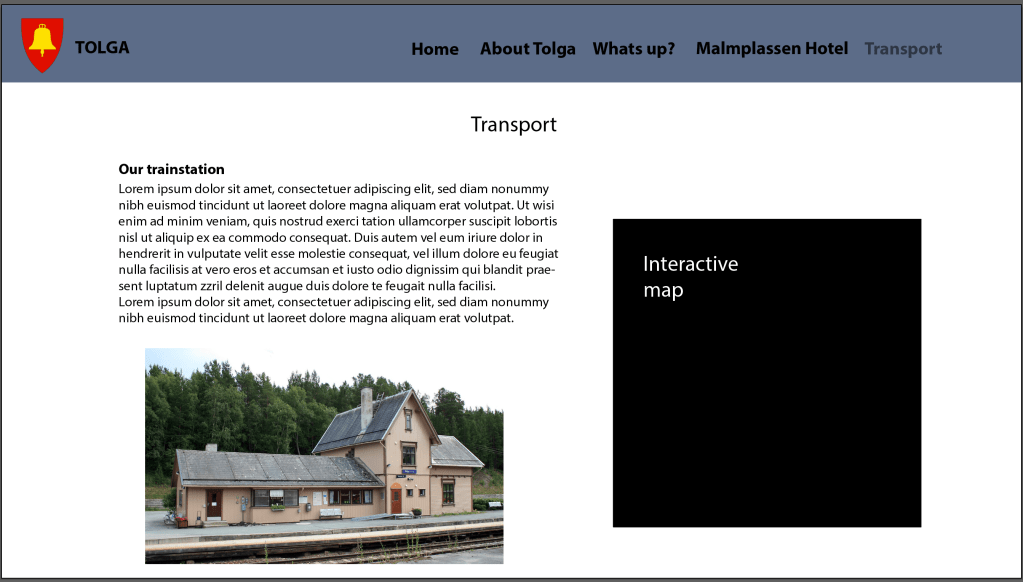
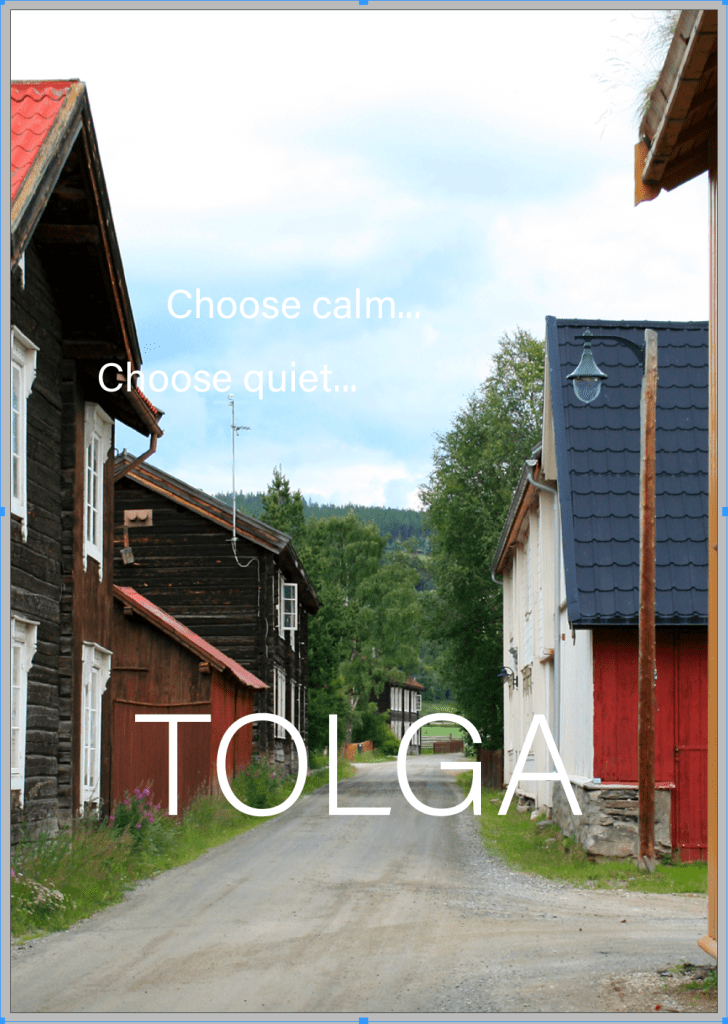
Design a 5-page website or blog to promote your hometown (or any other place if you so choose). Present your design along with a strategy that explains the decisions you’ve made during the design process (keep the six steps mentioned in the lesson Web Design Process: Designing for Web (part 2) in mind). Remember, it’s important for us to see how you think, so explain why you decided to do things the way you did.This is a front-end design lesson task. No coding or publishing is needed.Please upload this task to your WordPress blog.
For this task I designed a very easy 5 page webpage about my great grandmothers little town of Tolga. Its a special place for me were you can really take it easy and clear your head. Its a calm place but its surrounded by other interesting places if you want something to happen. The site is just really easy structured with only the top of the pages visible.
coming soon..
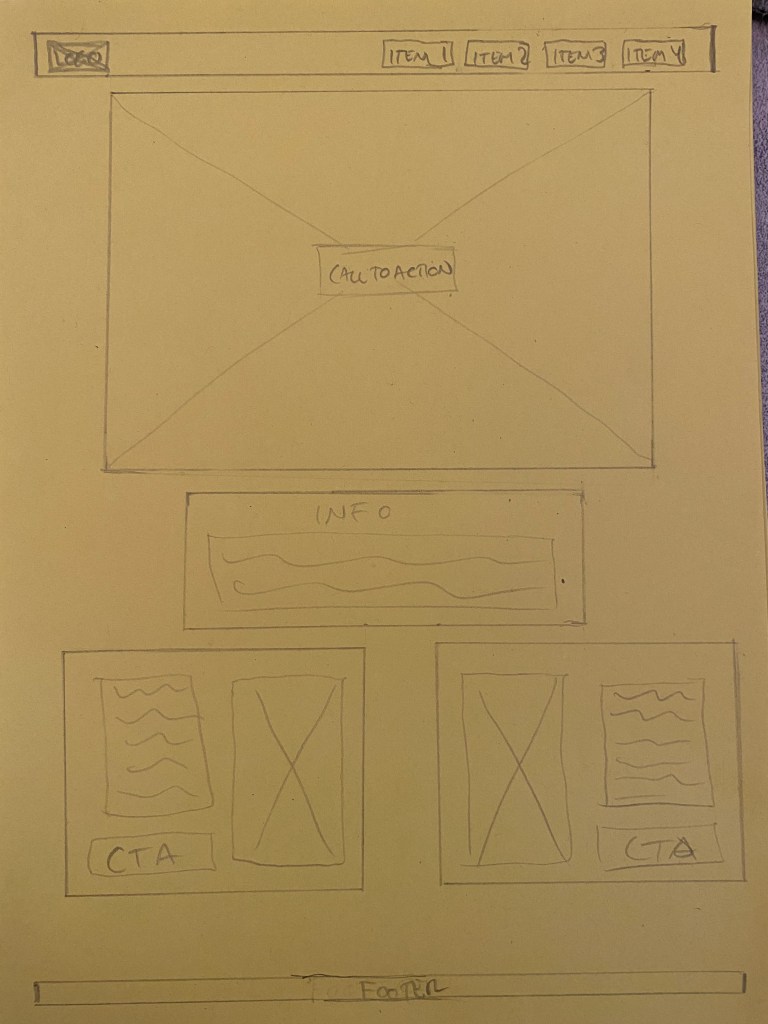
Now it’s your turn to create your very own website wireframe.In the last task, you had to come up with a list of 10 questions for a briefing form. I would like you to now fill in this briefing form, take the answers and create a wireframe for the site.This wireframe do not have to be a wireframe for your current Course Assignment (Product Website) it’s purely for you to practice your skills.You can choose if you want it to be a lo-tech or hi-tech architecture. Regardless of which method you choose, I would like to see as much detail as possible. Also, please write a short paragraph to explain why you chose the lo-tech or hi-tech option.
1.Who is your target audience?
Everyone that has a business or a personal ambition and needs a designer to help them on their way.
2. Who are your competitors and how do you differ from them?
My compeditors are all the other different design agencies out there.
3. What actionsdo you want visitors to take on the site?
To easily get to the portfolio via the index page, and to easy find the information they are looking for.
4. If client has content and images ready or they will need agency to do it?
No the client wants to do this from scratch with the help of the designer.
5.What is your deadline for completing the site? How big is the budget?
6. What goals do you want your website to achieve?
The goal is to promote the client as a graphic designer.
7. Please list the names of three sites that you like and explain what you like about them.
Alkemist – classy and elegant design agency, greate inspiration. All the info is easy to find and are made in organized way.
8. What kind of website does your brand need?
The webside needs to be a promotional site for the designer where people can look at the designers work and can make contact with the designer.
9. What will visitors accomplish on your website?
To hire the designer for their projects.
10. Who will be responsible for maintaining the website? Will the person have the time and skills to do so?
The client will be responsible for maintaining the site and has both the skill and the time to do so.
Wireframe:
I chose a low tech wire because I think it gives me the freedom to change everything as I please, and it was the simplest way to do this assignment. I will try a high tech version to later to get the practice.

Surf the web and find 10 sites you would consider to be great websites. Simultaneously, make a list of 10 sites you consider bad web sites. Remember to describe why you would define them as such. Upload your lists on your blog.
Great:
Bad:
Design your own printing checklist form.
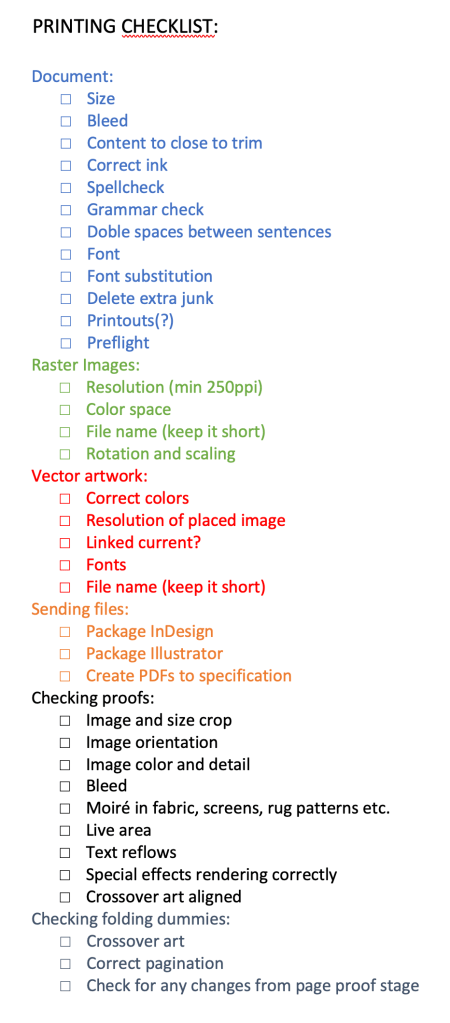
Make sure to include the instructions (like spot varnish, paper choice and binding) in the file.
Form and space
My findings? Its fun to move shapes around on a square piece of paper, that’s what I found out! Oh, and the effect the different pieces create while moving them, and that small changes can do much. But to create a shape where the foreground goes into the background wasn’t easy, and I might used a bit more more time if I wasn’t stressed about the 5 other assignments and a project description that had to be done. But in the end I got the result I wanted. Here are some pictures of my process:
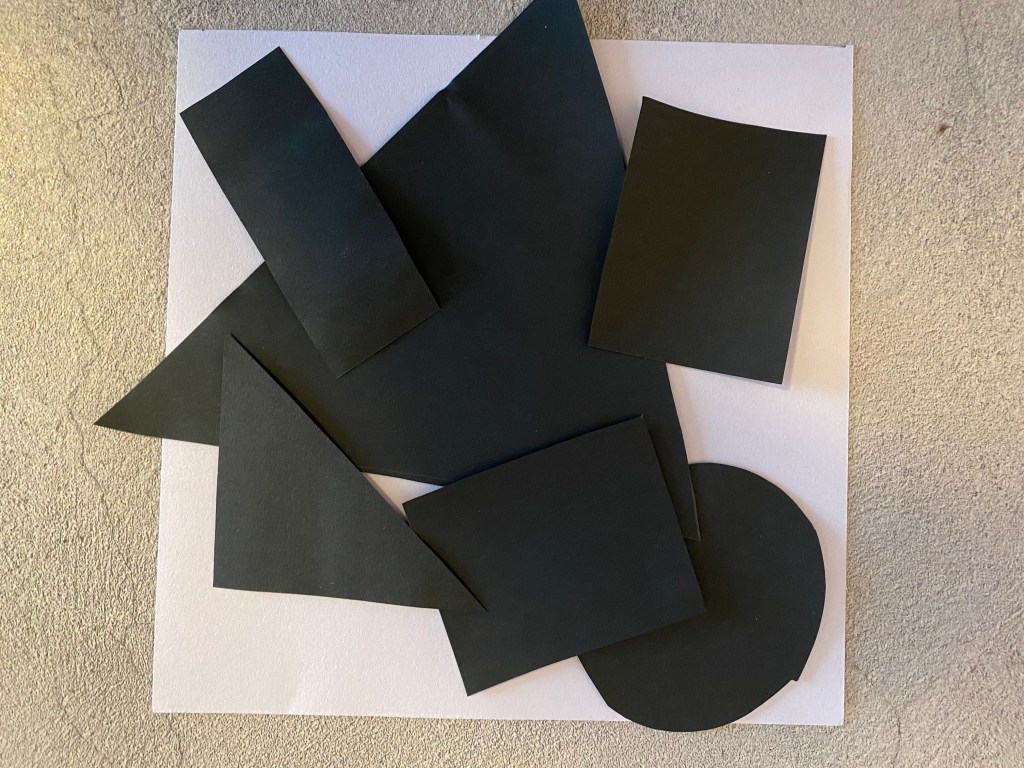
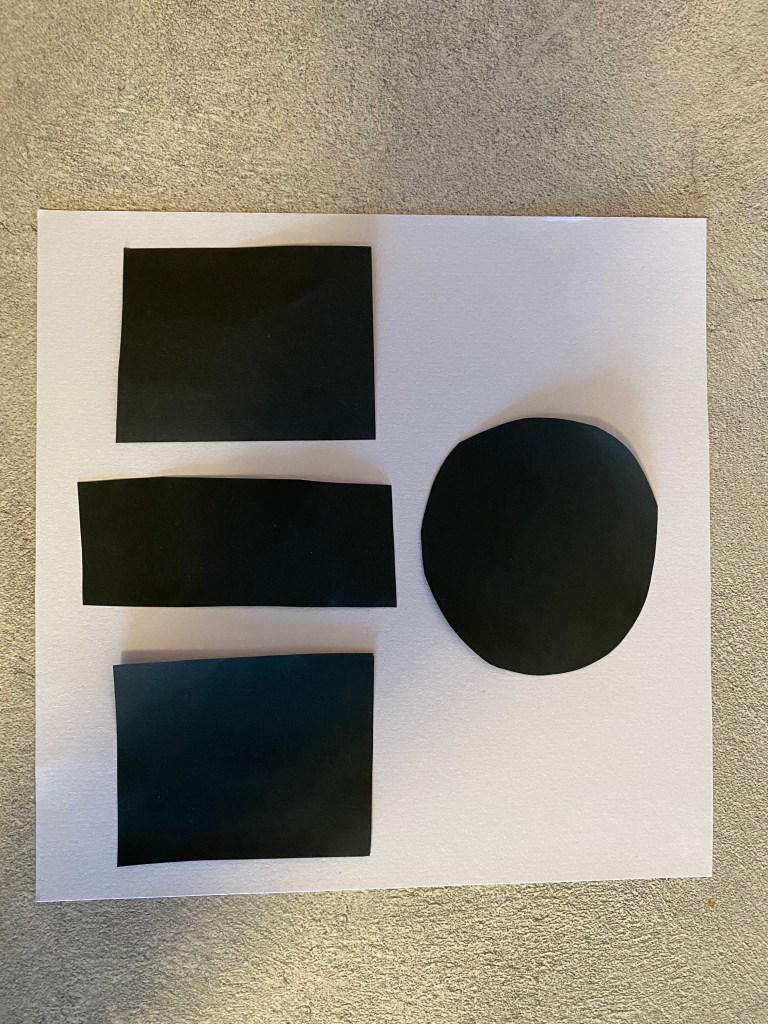
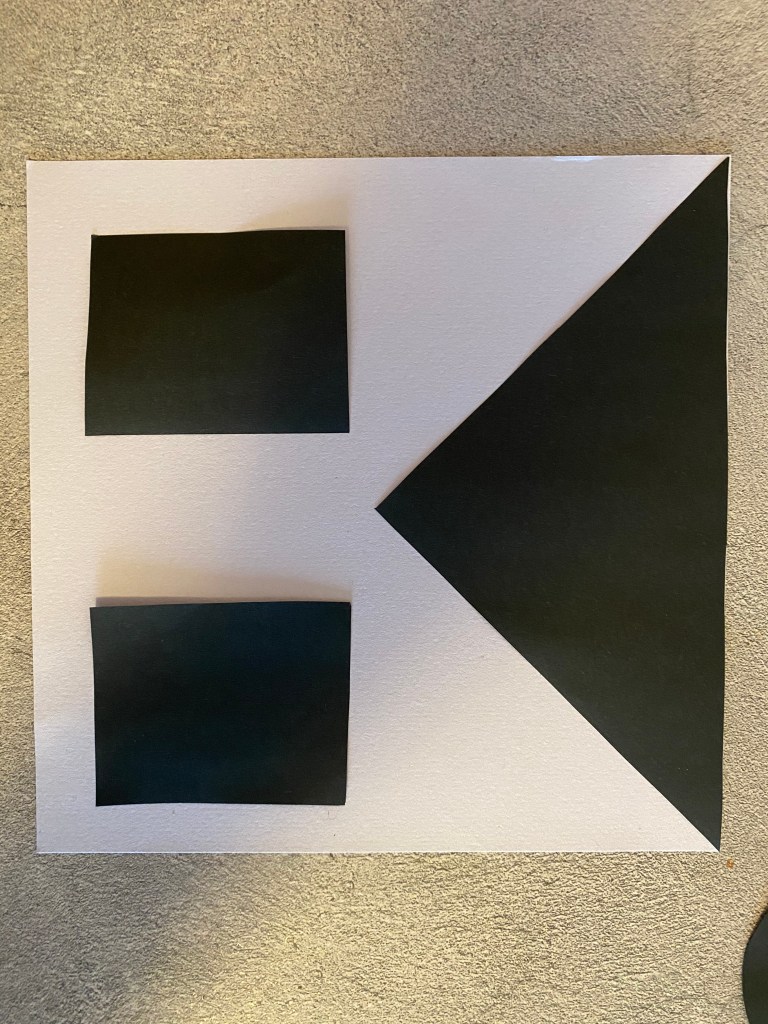
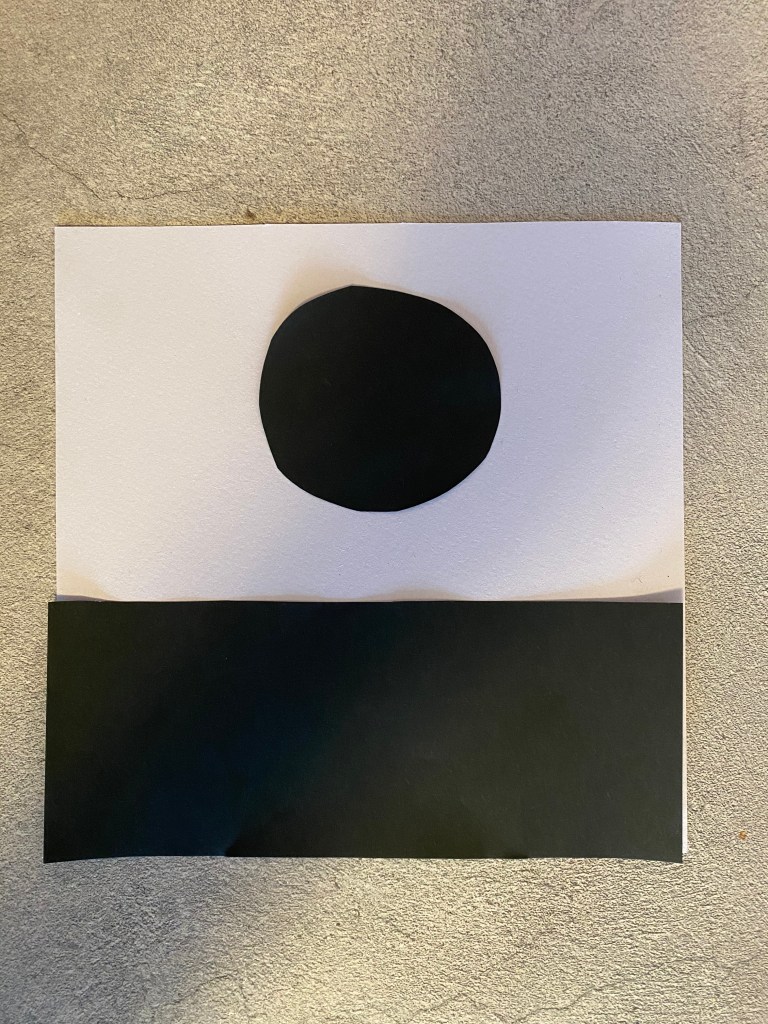


what is the fore ground and background? hard to see..
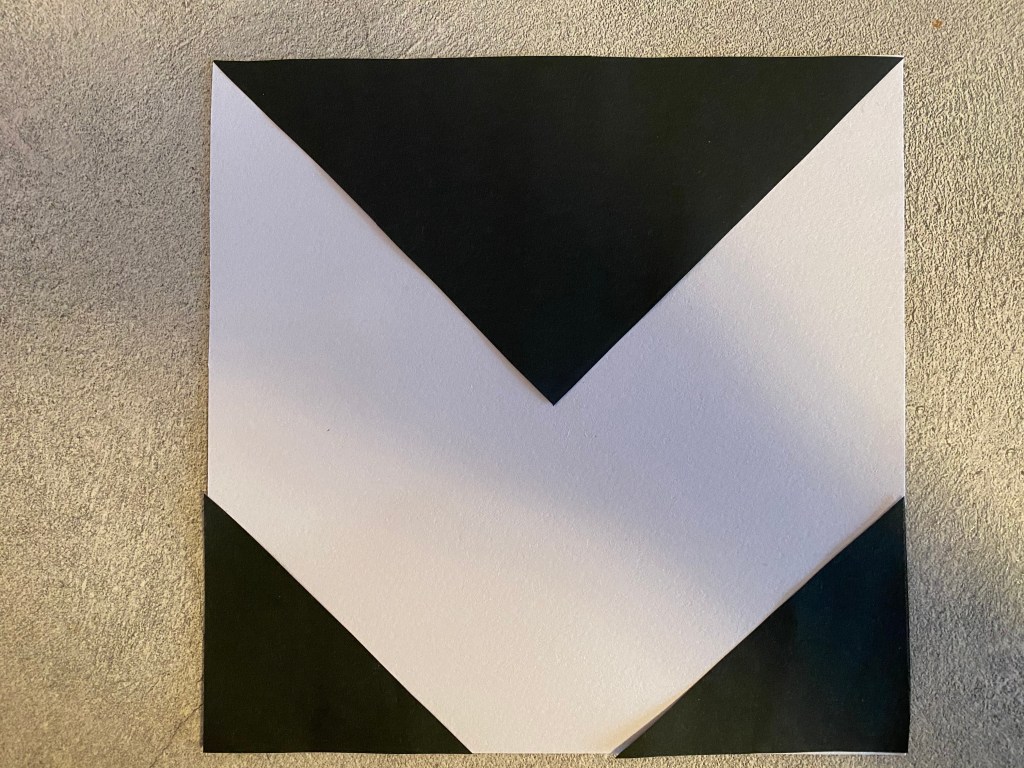
In this assignment, you will be given the opportunity to also test your idea sketching skills. It is important to start working with basic ideas on paper and develop your concept from there on out.


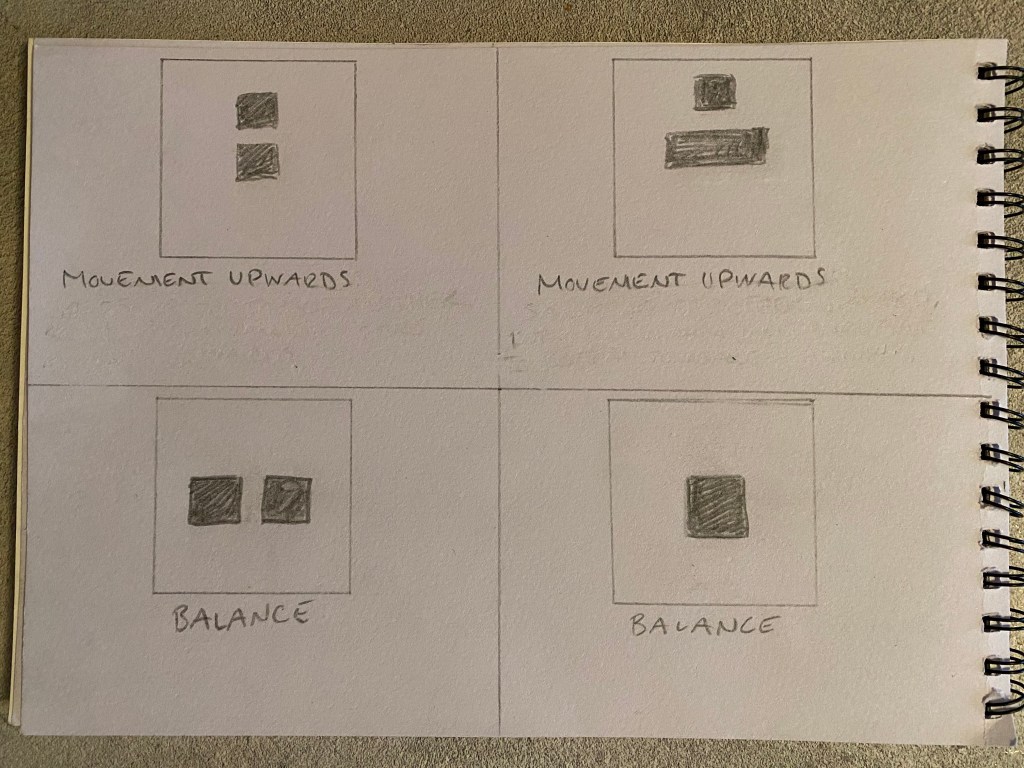
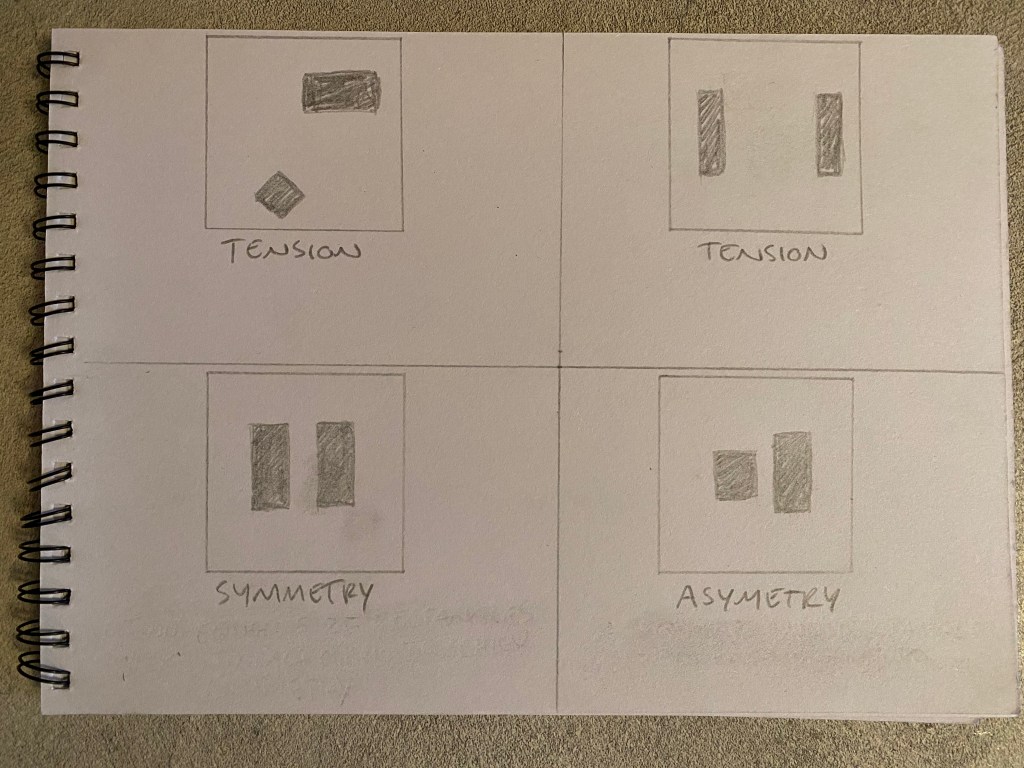
It was fun to move the blocks around and get the effects that the assignment wanted. I shows that it is important to think about where you place object in a design or illustration, and if you know effect you want it is not that hard to get it right. But always pay attention, you do not want to feel tension when you want to achieve symmetry.
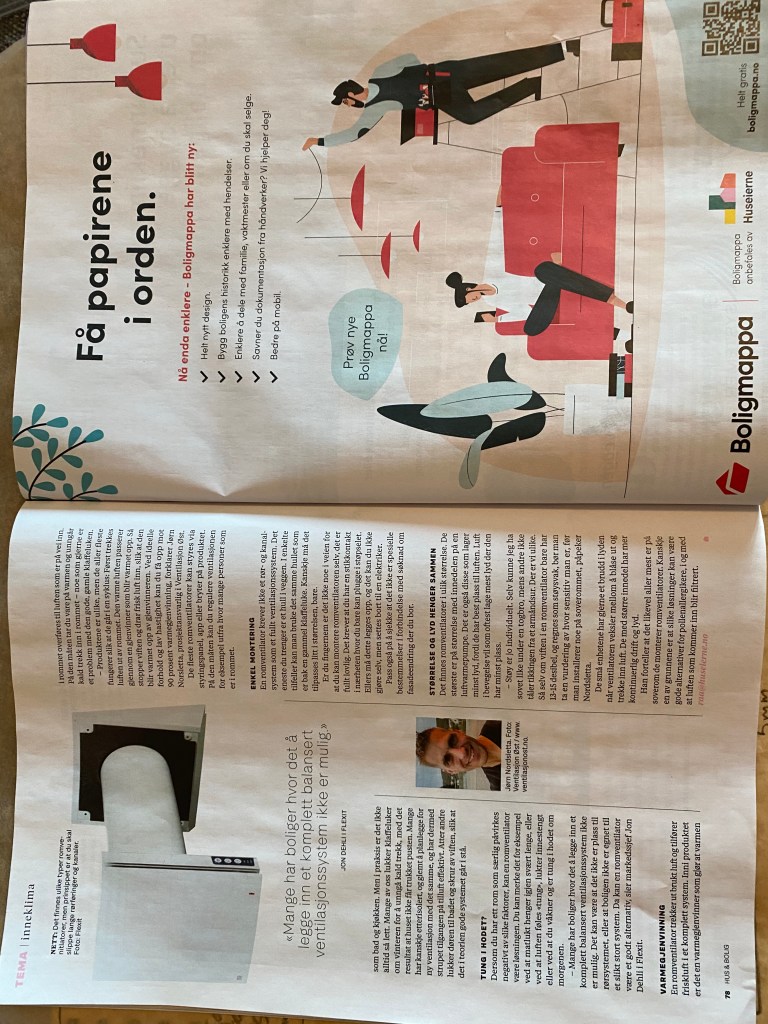
Okey, this was an interesting assignment, I got to know more on how designers lay out there magazine pages and what techniques they use. I used the magazine “Hus & Bolig” and traced 3 different layouts:
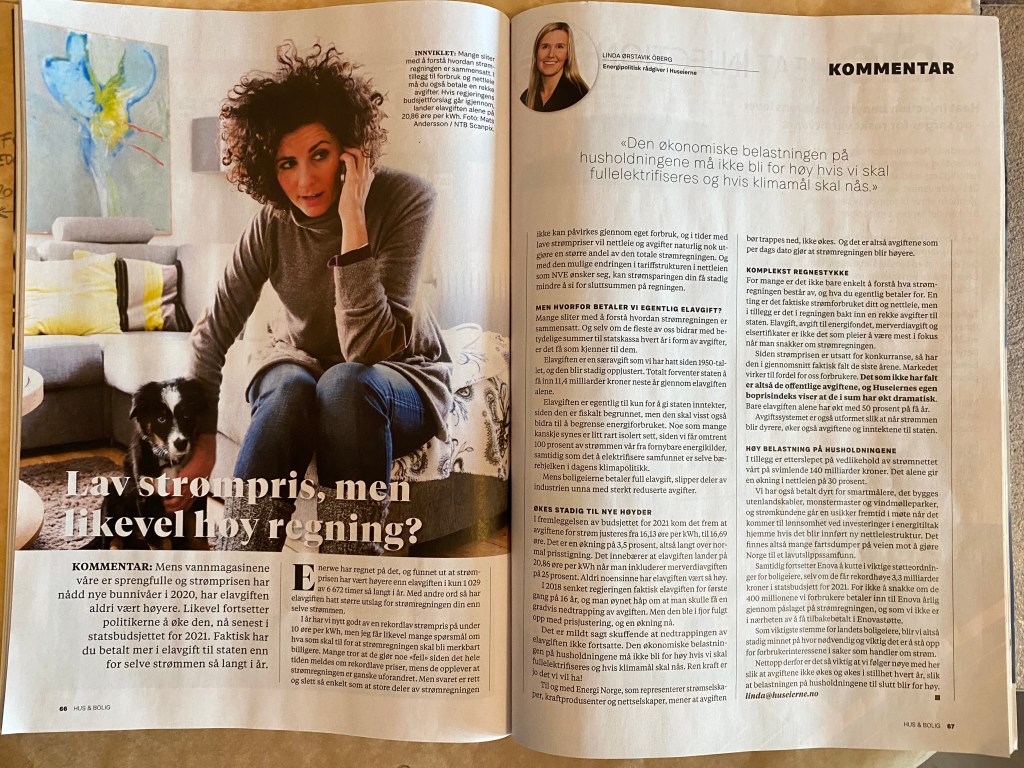
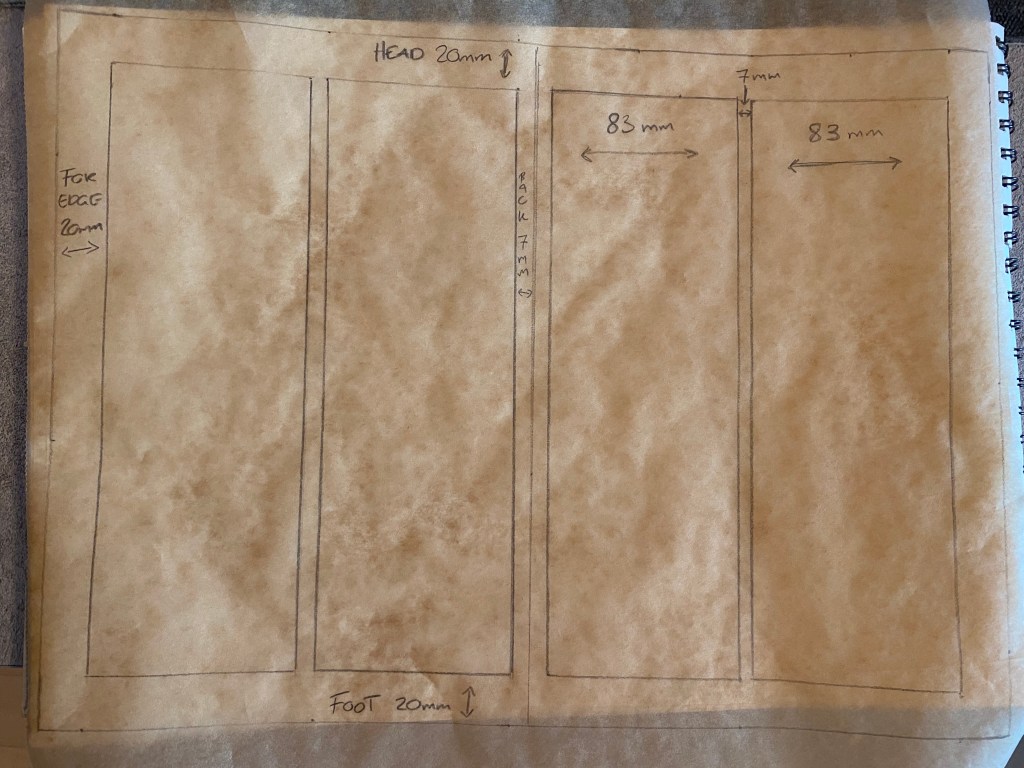
The first spread is based on a 2-column grid.
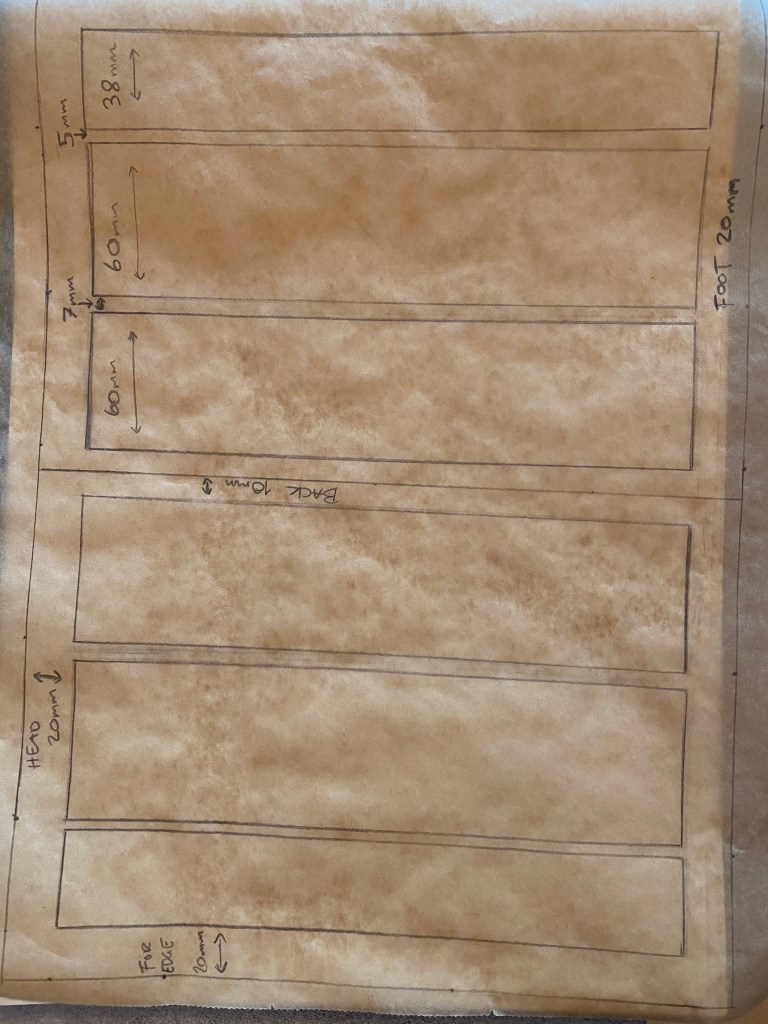

The next spread is based on 3-column grid.

This last spread is different from the other ones, the left page Is based on a 3 column grid but the right is a single column grid. This is based on that the right page is a commercial that expends the whole page. However, what is the same about all 3 spreads is that the for edge, head, foot and back are the same. My measurements don’t say say that on the back, but that is because the spreads are difficult to well.. spread out and what’s why my measurement may differ. On the exception on the commercial page, that is spread on the whole page.
Compare the design (in terms of pace and contrast) of an online magazine, blog or website to that of a printed magazine, book or journal.
The first thing that strikes me is that designing a magazine is like designing a Ferrari, and writing on the web is like designing a Lada. Magazine is art, and on the net all is straight foreword. Okey, I know that it is a lot of thought behind the online magazine, but it looks very simple on the web. in the online magazines you can scroll downwards and therefore I find that the design is mostly one column that can go downward forever, the foot is usually a long way down. But still I can see techniques that guides my eye as I what’s the screen, just as the normal magazine. The different formats needs to use different tools to keep the reader at bay, and I can clearly see the difference and can see the tools they use.
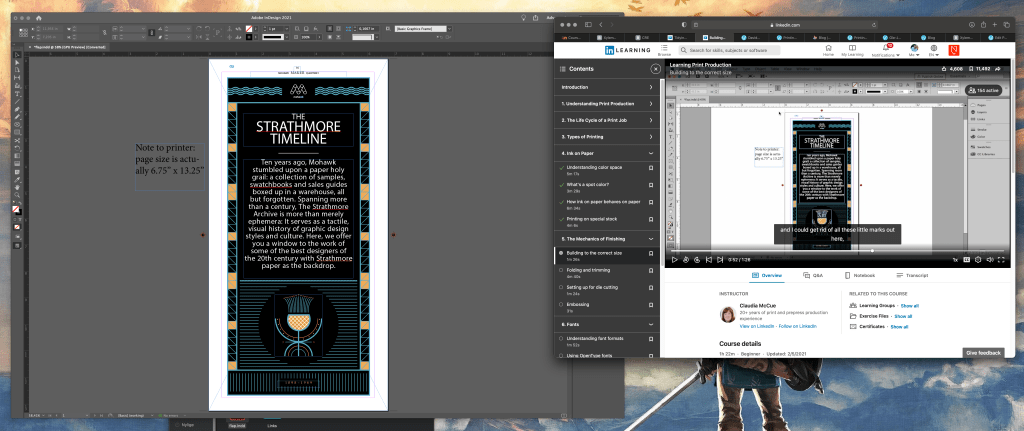
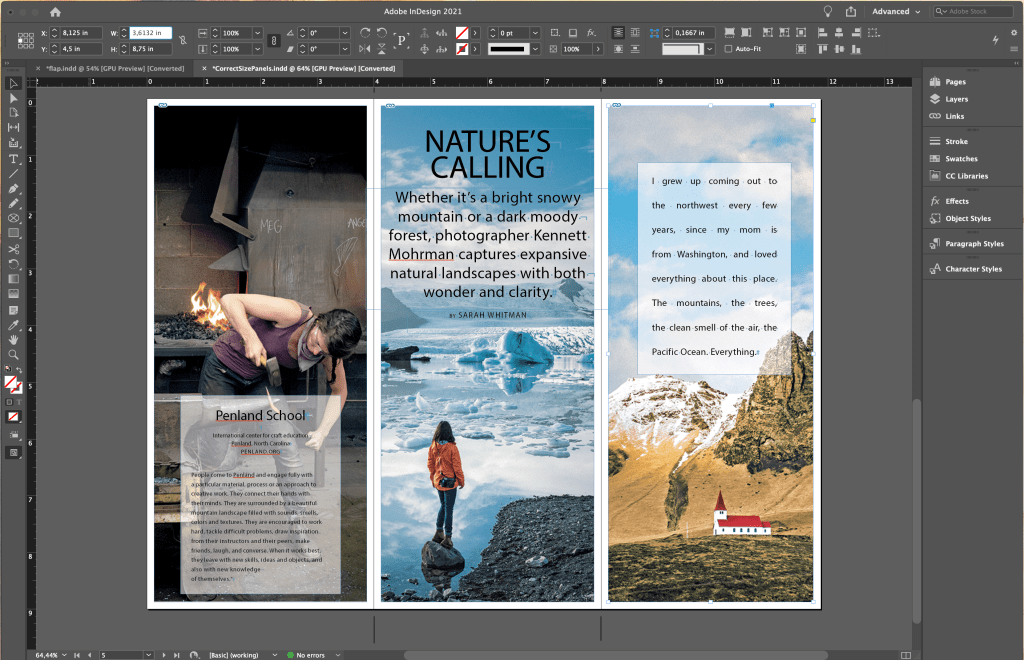
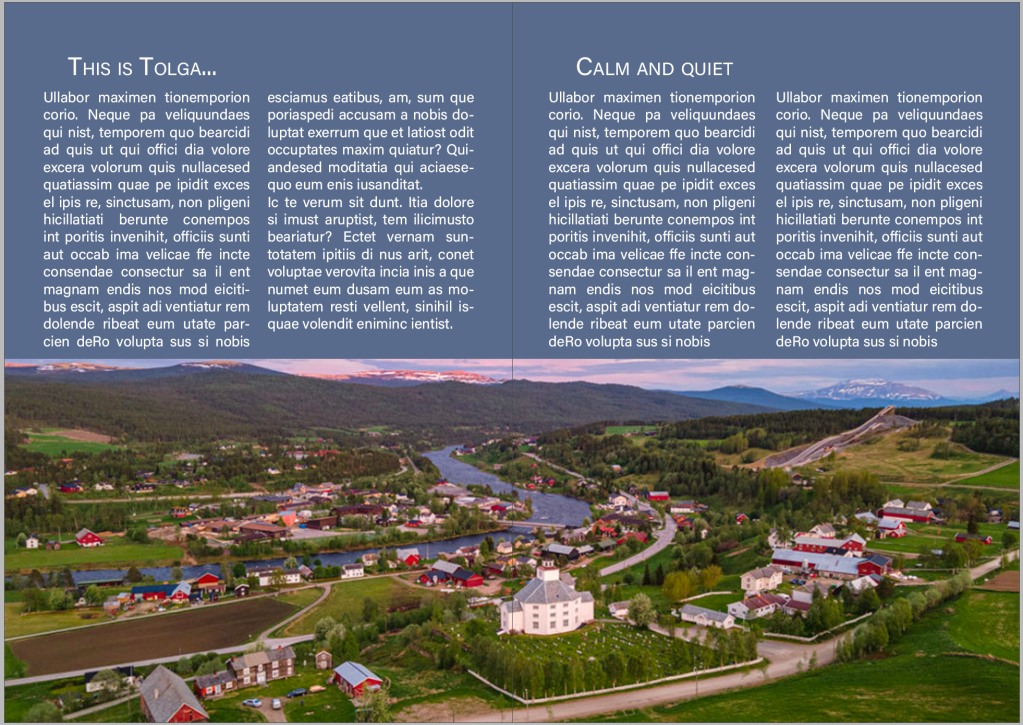
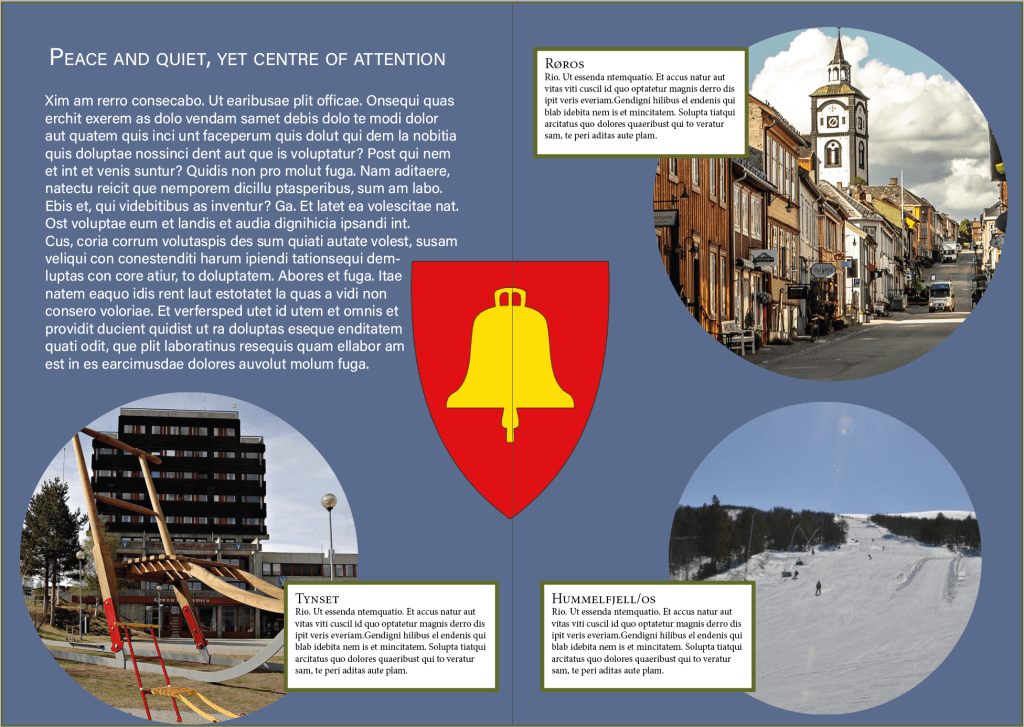
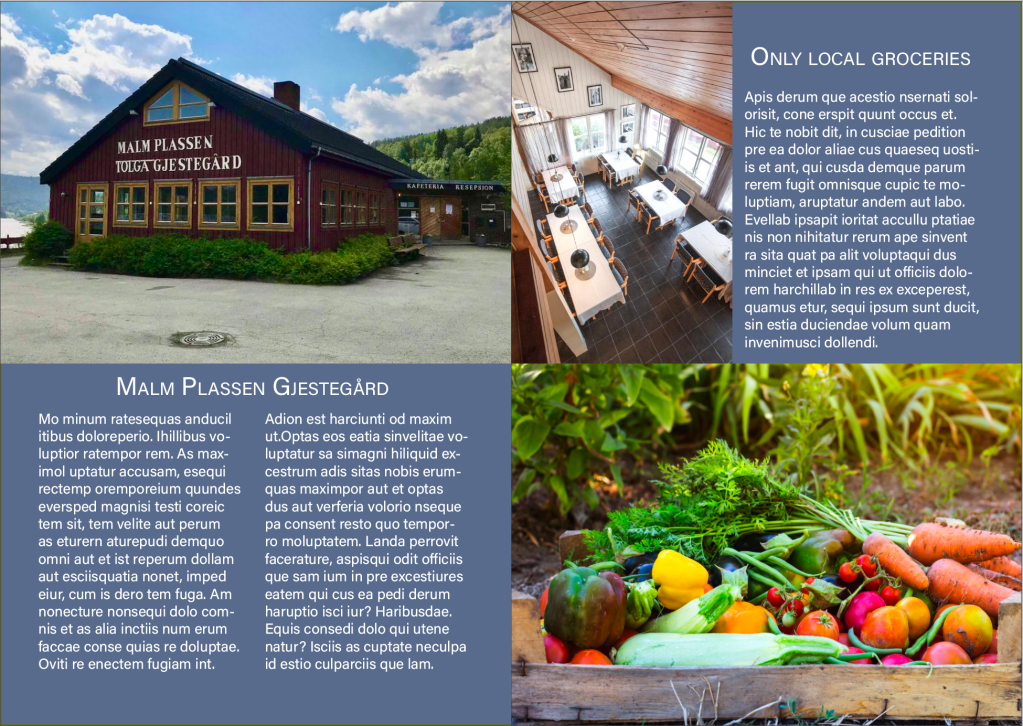
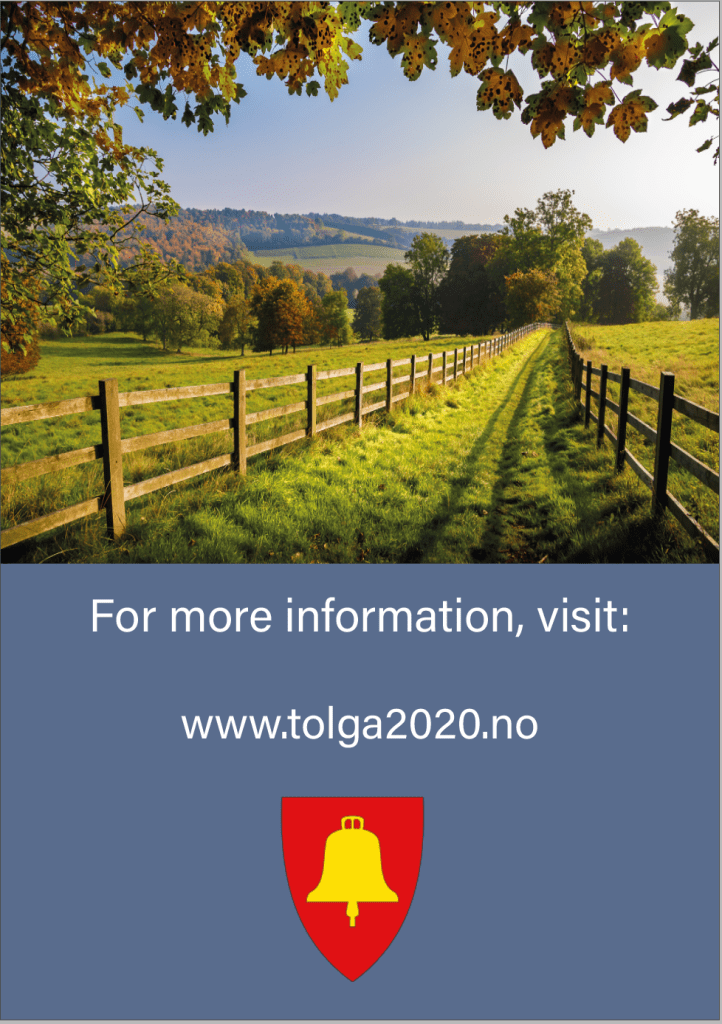
Using InDesign, design a 8-page brochure for a fictitious travel agent.
For the brochure I chose the little and calm town of Tolga. Its a small place where countryside and calm goes hand in hand, and the place where I used to visit my great grandmother every year before she died. I could have chosen Oslo, Stockholm, Barcelona, New York, London etc. but where’s the fun in choosing something obvious?
I chose a simple and light sans serif font to keep a light profile with the blue and light pictures. I chose different grid but tried t have a sense of calm and symmetry with the pictures. Anyway, here’s the brochure:
Source:
Wikipedia
Ostleningen.no
https://noraxtynset.no/prosjekter/kunst-og-utsmykkinger/storsparken
https://www.booking.com/hotel/no/malmplassen-gjestegay-rd.no.html
